- Question and answer session related to week’s assignment
- Concepts and components related to electricity
The only part of this week's Q&A that I have captured here is a conversation regarding how to create a fluid experience when using analog input to control an action. Many of us in the class have realized that often when using analog sensors we are forced to deal with a lot of noise. So ultimately the question is “how do we reduce the noise to improve the interaction?”
To solve this problem, Tom recommends that we set-up a way to track the change in state that an analog sensor undergoes and use this difference to activate an action, rather than activating actions based on the absolute state of the sensor alone. This paradigm is used in several more advanced examples on the Physical Computing syllabus (this is just a general link to the syllabus as I have not looked for the specific examples yet). Some of the state change detection examples focus on digital input; however, the principle can be easily adapted for with analog inputs.
Back to Basics of Electricity
Resistors: Though we have discussed resistors several times in the past, we briefly reviewed a few important attributes before delving into new concepts: (a) Resistance – its ability to resist the flow of electricity (b) heat dissipation – its ability to convert electrical energy into heat, thus consuming voltage (aka potential); and (c) Impedance – its ability to resist changes in voltage.
Capacitors: Components that are able to store energy when it is available, or spikes. Then they are able to release the stored energy when it is no longer available. Most capacitors can work with electricity flowing in either direction, except for polarized ones that work better in one direction. Capacitors can usually hold energy for long time, though they are not able to hold much energy.
When do we use capacitors? Capacitors are often used like surge protectors to help stabilize energy since they collect charge when the charge spikes, and release it when it is low. Because of their impact on electric waves they also influence other waves such as sound – we will explore the consequences of this fact in future lectures.
Voltage Regulators: Most plugs have voltages that vary considerably above or below the recorded voltage. Voltage regulators are designed to minimize these spikes and keep voltage supply steady. All regulators have a minimum voltage/electricity requirement, if this minimum is not met then the regulator will not be able to output any voltage. Regulators are able to dissipate voltage by converting it to heat. This is why these components heat up when used for a long period of time (you will notice this if you touch a regulator that has been on for a while, then after burning yourself you will not make this same mistake again).
You should always use the lowest possible resistor for a given task because this is the most efficient solution (no need to use a 16v DC adaptor and resistor for 5v power delivery, if you have a 9v resistor available).
Parallel vs. serial circuits: There is an important distinction regarding how voltage and current flows through parallel and serial circuits. When two components are in parallel they divide the current but receive the same voltage. However, when two components are in serial order they divide the voltage while receiving the same current.
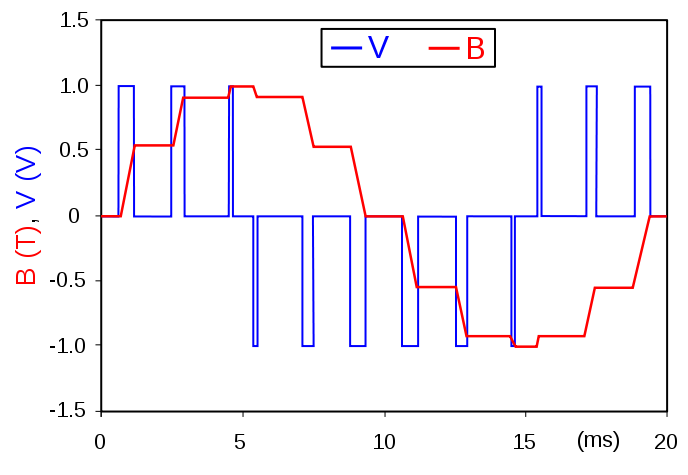 Pulse Width Modulation (PWM): PWM refers to the way in which microcontrollers, such as the Arduino, are able to emulate analog output via digital pins. This process entails sending electric currents that alternate between on and off in varying intervals to match the appropriate analog output level. Here is a link to a more in-depth description from wikipedia (image below taken from wikipedia post on this topic).
It is important to note that PWM needs to be calibrated based on the component that it is being used to control. For example, if we attach a motor to a PWM output then we need to calibrate the output setting to take into consideration the amount of time required to activate the motor.
Working with Complex Circuits: When creating complex circuits analyze each sub-circuit individually before trying to understand the overall circuit. Understanding the sub-circuits will enable you to understand the larger circuit that they create together.
No comments:
Post a Comment